How to Make a Macramé Garland for a Boho Party Backdrop
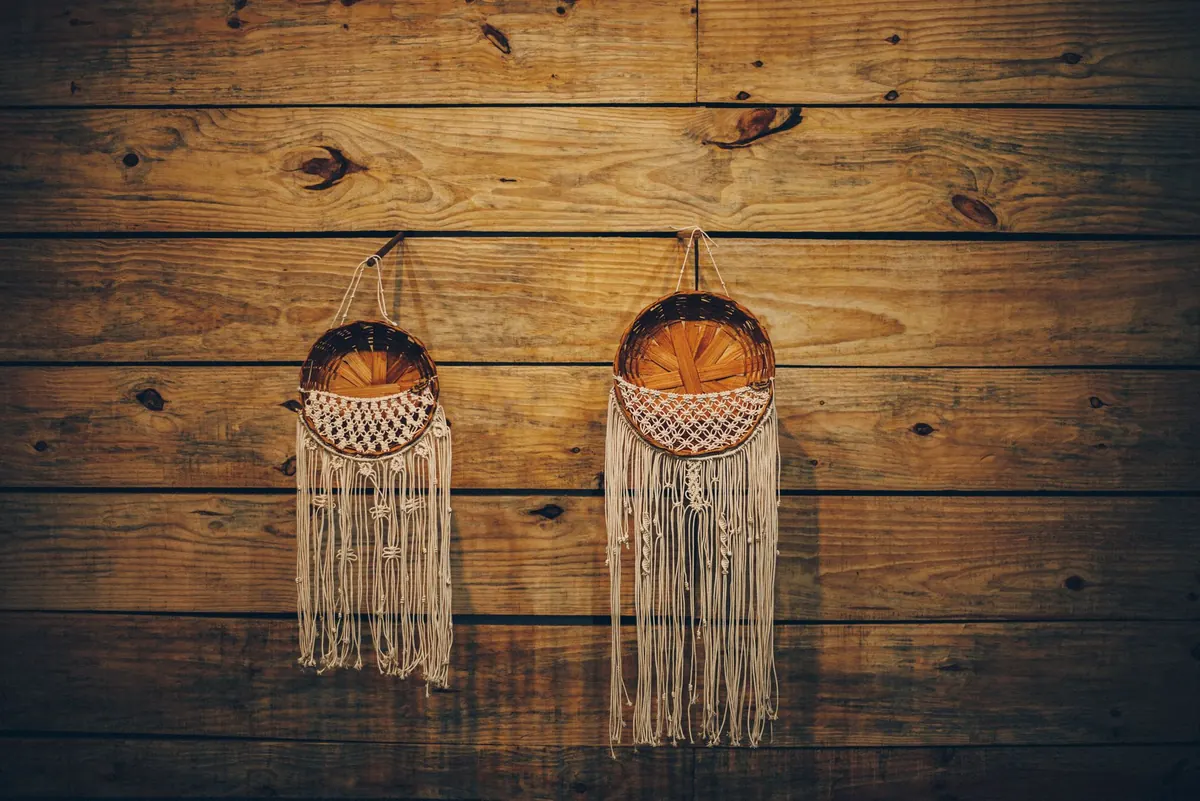
A paper garland takes ten minutes and disappears with the recycling. A macramé one takes an afternoon and comes back out for every party after that. That trade is worth it when you are dressing a cake table or a photo spot, because knotted rope gives you something flat decorations cannot: shadow, weight and texture that reads beautifully next to dried palms, rattan chairs and terracotta.
This is the beginner version. One anchor, one pattern, no complicated diagrams. You will tie square knots in offset rows, add a spiral on each edge, and finish with a fringe you can trim to a point. Read the whole thing once before you cut anything.
What You'll Need
- About 40 metres of 3–4 mm cotton rope (a 100-metre spool leaves room for a second, smaller garland)
- A dowel, brass rod or smooth branch, roughly 120 cm long and 2–2.5 cm thick
- Sharp scissors or a rope cutter
- Masking tape
- A tape measure, or a stick with marks every 5 cm
- A crochet hook (helpful for tightening, not essential)
- Optional: wooden beads, brass rings, dried flowers, shells
Choosing Cord, Colour and Width
Single-strand cotton rope is the easiest to work with and the easiest to fray into soft tassels at the end. Twisted three-ply cord holds knots a fraction firmer and looks a little more tailored. Either is fine; pick by the look you want, not by the instructions.
Thickness decides how fast this goes. At 4 mm, knots are chunky, they cover space quickly, and a 120 cm garland is genuinely an afternoon. At 3 mm, the panel looks finer and more delicate, but you will tie noticeably more knots for the same width.
Natural cotton suits almost every boho scheme because it sits quietly beside linen, cane and pale wood. If you want colour, stay in dusty territory: muted mustard, sage, terracotta, faded rose. Two colours work well alternated strand by strand, which gives you a subtle vertical stripe without extra effort.
On width, leave 10–15 cm free at each end of the dowel. Knotting pulls a panel inward, so ropes mounted edge to edge will end up narrower than you planned and look cramped against the rod.
Four Knots That Do All the Work
Lark's head
This is how you attach cords to the dowel. Fold a strand in half, pass the loop under the dowel, then pull the two loose ends through the loop and tighten. One strand becomes two hanging working cords.
Square knot
The workhorse. With four cords, pass the outer left cord over the two middle cords and under the outer right, then the outer right over the middles and through the loop on the left. Repeat the mirror image to complete the knot. It should sit flat and square, not twisted.
Half square knot
Tie only the first half of a square knot, over and over, and the knots spiral. Two matching spirals down the sides of a garland are what make it look designed rather than improvised.
Gathering knot
A wrapping knot that bundles several cords together. Useful if you want to cinch a cluster before the fringe, or finish a tassel neatly.
Tension is the whole craft. Snug each knot until it holds, then stop. Over-tightened knots distort the row below and there is no way to undo that without unpicking.
Cutting and Mounting
Cut 16 strands at 2.4 metres. Folded in half, each drop starts at 1.2 metres and finishes around 85–90 cm once knots and trimming take their share. The rule of thumb: cut about four times your finished drop length.
Tape the ends of the dowel to a table, or rest it across two chair backs. Mount the strands with lark's head knots across the middle 90 cm, spacing them about 5–6 cm apart. Sixteen strands give you 32 hanging cords, which divides neatly into eight groups of four.
Step by Step: Knotting the Panel
- Row one. Working left to right, tie a square knot with cords 1–4, then 5–8, 9–12 and so on. You will finish with eight knots.
- Row two. Skip the first two cords and tie square knots offset from the row above, using cords 3–6, 7–10 and onward. You will finish with seven knots.
- Keep alternating. Eight-knot rows and seven-knot offset rows, each about 4 cm below the last. The offsets create the diamond net that makes this pattern worth the effort.
- Check your width after every row, and pull the panel gently back to its full span. If it is creeping inward, loosen your grip on the outer cords.
- Stop at six rows for a compact band, or ten rows for a longer shoulder of knots.
- Add the spirals. Take the four outermost cords on each side and tie 12–15 half square knots as a column. These frame the net and give the garland a crisp edge.
- Leave the rest as fringe. Anything below the last row hangs loose, and that is exactly the point.
Trimming, Shaping and Embellishing
Hang the garland up before you cut the ends. Cords settle and stretch once they are off the table, and you want to trim against gravity, not against a flat surface.
For soft tassels, unravel the final 5 cm of each cord and comb it out with a wide-tooth comb. Single-strand cotton fluffs quickly and looks lovely. For a cleaner finish, trim straight across, on a gentle diagonal, or into a shallow V so the fringe points toward the centre of the garland.
Embellishment is where you make it yours. Thread wooden beads onto single fringe cords and lock each with a small overhand knot. Wire a few dried stems behind the dowel so they peek between the knots. Brass rings, shells or a narrow mirror slipped onto the rod all work. Keep it to two or three additions; the knots are the main event.
Hanging It So It Stays Put
A cotton garland this size weighs somewhere between half a kilo and a kilo, which is heavier than most party decor. Fix two hooks or nails a third of the way in from each end so the dowel cannot bow, and use proper wall anchors in plasterboard. Tie twine loops rather than knotting the rope itself around the fixings — you will want to slide the garland up or down without untying anything.
Behind a cake table, hang the fringe to finish 40–50 cm above the tabletop. High enough that tall candles clear it, low enough that it frames the cake in photos. Keep rope well away from open flames, and if you are decorating outdoors, bring it inside at the first sign of rain.
A Short Checklist for Party Day
Hang the garland a day early. Cords relax overnight, and you would rather see the fringe settle on a Tuesday than twenty minutes before guests arrive. Lay a tape measure against the table and mark where the bottom of the fringe should sit, so you are not adjusting by eye with one hand while holding a cake stand with the other.
To clean it, spot-treat with a damp cloth and let it air dry flat. Never machine wash knotted rope; the knots will tighten into a permanent tangle. When the party is over, roll the garland around its own dowel, tie it with a strip of scrap fabric, and store it somewhere dry. It will be ready for the next one.
Photo: Luis Pimenttel / Pexels


You Might Also Like
A practical local guide to borrowing or renting community bunting, checking it before you take it home, and storing it so it survives to the next festival.
Windy gardens punish flimsy bunting. Here is how to choose weatherproof flags, anchor them properly, and space lines so they stay up.