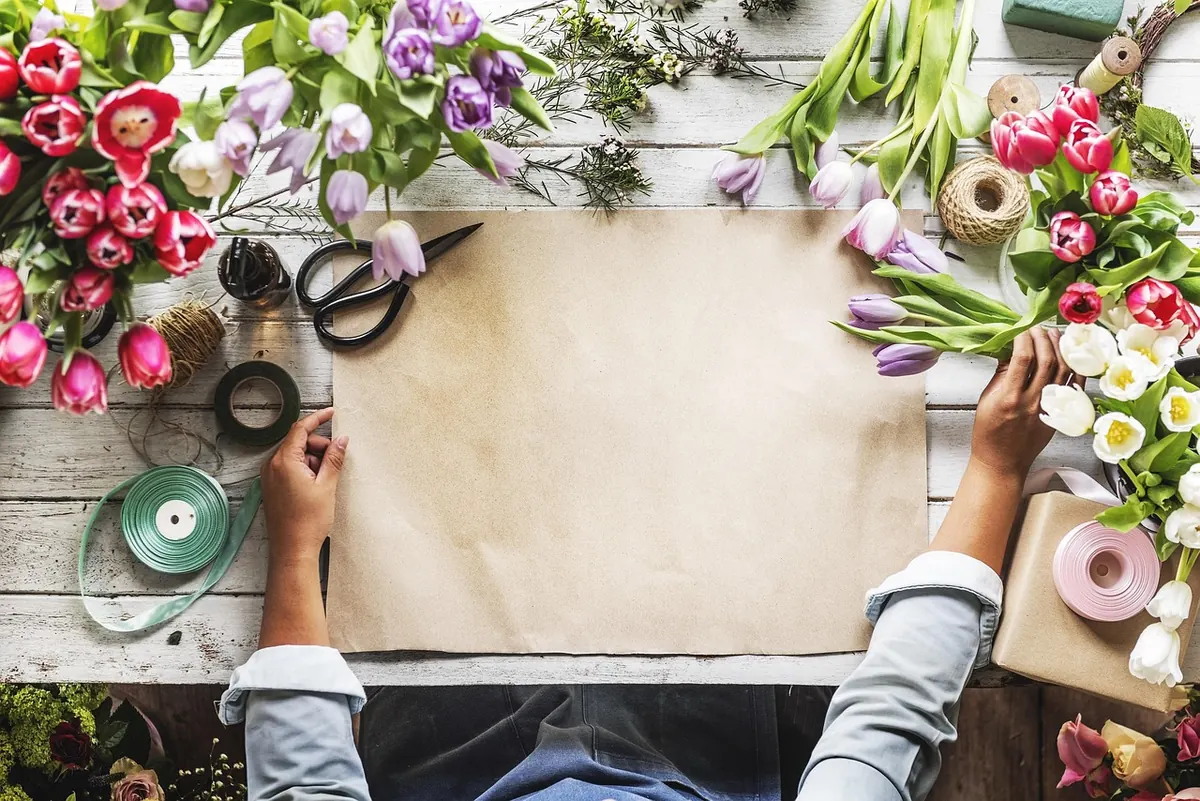
DIY No-Sew Bunting: Turn Fabric Scraps into a Reusable Garland
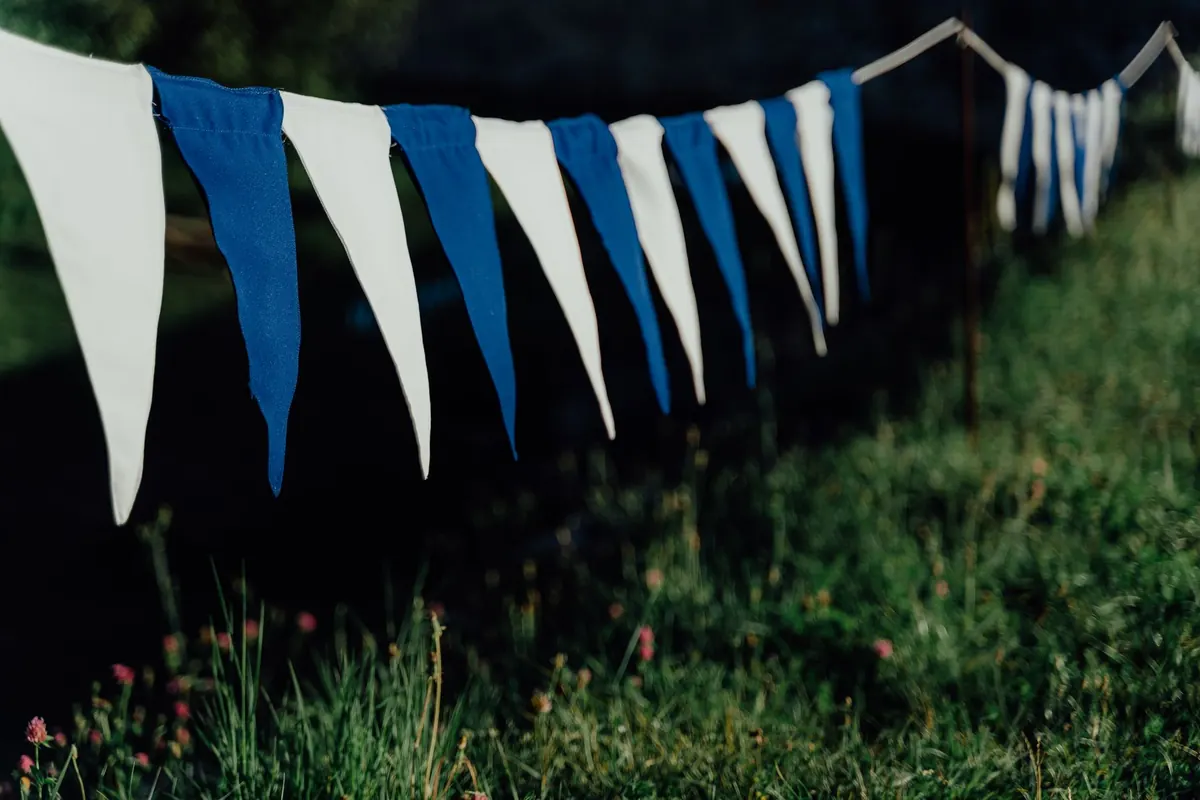
A garland of fabric flags can dress up a mantel, a doorway, or a long stretch of plain wall in about an afternoon, and it does not require a sewing machine. If you have a stack of leftover quilting cotton, a pair of pinking shears, and a tube of fabric glue, you already have everything you need. The zigzag cut slows fraying, the glue holds the layers, and the finished bunting is sturdy enough to fold up and reuse season after season.
Why Pinking Shears and Glue Get the Job Done
Pinking shears cut a sawtooth edge instead of a straight one. Because woven fabric frays along a straight line of threads, that zigzag breaks the line and keeps loose threads shorter. It will not stop fraying forever, but it buys you plenty of time, especially on a garland that hangs indoors and spends most of the year in a box.
Fabric glue fills the same role as a stitched seam. A thin, even line along the edge holds the two layers of each flag together and dries flexible enough to drape naturally. The catch is restraint: too much glue soaks through, stiffens the fabric, and shows as a dark ridge on the front. Thin lines, applied close to the edge, behave best.
Gather Your Materials
- Fabric scraps, at least two matching pieces per flag
- Sharp pinking shears
- Permanent fabric glue (check the label for a washable, flexible bond)
- Ribbon, cotton twill tape, or double-fold bias tape, about 1/2 to 1 inch wide
- A cereal box or heavy cardstock for a template
- Ruler, pencil or tailor's chalk, and regular scissors
- Wax paper or parchment paper, and binder clips or clothespins
- An iron and a pressing cloth
Test the glue on two scraps of the same fabric first. Some adhesives dry stiff on lightweight cotton, and some leave a visible mark through pale prints. A scrap test takes five minutes and saves a whole garland.
Choose and Prep Fabric Like a Pro
Tightly woven cotton is the easiest fabric to work with, which is why quilting scraps, old button-down shirts, and worn pillowcases are ideal. Cotton-linen blends work well too. Skip burlap, which sheds, and skip slippery satins and loose knits, which curl at the edges and resist a clean pinked cut.
Wash and dry any fabric that has not been pre-shrunk, then press it flat. Wrinkles distort your triangle shapes and make the pinking cut wobble. For a balanced garland, choose three to five colors and mix solids with small-scale prints. Large prints get swallowed by a six-inch triangle, so save those for another project.
Cut Your Flags
Draw a triangle on cardstock: about six inches across the top and seven inches from the top edge to the point. Cut it out and use it as your template. A slightly taller triangle reads better on a wall than a squat one.
Trace the shape onto the wrong side of your fabric, then cut with the pinking shears. Take long, smooth snips rather than chopping at the fabric, and avoid closing the blades all the way to the tips with every cut, which chews the edge. Cut both sides of each pair separately and match them up afterward. Stacking two layers and cutting through both sounds faster, but the layers shift and the edges no longer line up.
If the fabric is a solid color and you cannot tell the right side from the wrong side, pick one and stay consistent. Prints usually give it away: the right side looks brighter and cleaner.
Glue the Flags, Then Add the Ribbon
- Lay one triangle right side down on a sheet of wax paper.
- Run a thin line of glue along the two diagonal edges, about a quarter inch in from the cut edge. Leave the top edge bare.
- Place the matching triangle on top, right side up, and align the top edge and the point. The two wrong sides should meet in the middle.
- Press gently with your fingers, wipe away any glue that squeezes out, and clip the edges if the fabric is springy.
- Weight the flag with a heavy book and let it cure for the full time listed on the glue bottle. Overnight is safest.
- Repeat for each flag. Work in batches so drying time overlaps.
Leaving the top edge open creates a pocket. Once everything is cured, thread your ribbon or tape through that opening and slide the flags into place. This is the part that makes the garland genuinely reusable: you can change the spacing, swap colors, or move one flag to a shorter ribbon without touching the glue bottle. If you would rather have flags that stay put, add a small dot of glue at the top of each pocket once the spacing looks right.
String, Space, and Hang
Space flags roughly one and a half to two and a half inches apart. Wide gaps look airy over a doorway; tighter spacing looks fuller over a fireplace. As a rough guide, a ten-foot ribbon holding six-inch flags with two-inch gaps fits about fifteen flags.
Hang with a gentle swag rather than pulling the ribbon tight, which makes the flags flip and hide their fronts. Pins, removable adhesive hooks, and simple knots around a railing all work. Keep fabric bunting well away from candles, tealights, and any other open flame. For outdoor use, bring it in before rain, since moisture can soften the glue line and leave water spots on the fabric.
Care and Storage
Spot clean small marks with a damp cloth and a little mild soap. For a deeper clean, hand wash in cool water, press the water out gently, and hang to dry. Do not wring the flags or put them in a hot dryer. Iron on a low setting with a pressing cloth over the fabric, and avoid pressing directly on the glue lines.
To store, roll the garland loosely around a cardboard tube or fold it flat between sheets of tissue in a box. Keep it away from damp basements and direct sun, which fades prints. A labeled box or a marked tube saves you from untangling three garlands next season.
Small Fixes That Save the Day
Edges are fraying
Run a thin line of fabric glue along the pinked edge and let it dry. This seals the threads and adds a slightly crisper finish that many people like on a rustic garland.
Glue is showing through
You used too much. Scrape what you can while it is still tacky, then let it dry completely. A dark line often fades once the glue cures, but if it still bothers you, cut a fresh pair and start that flag over.
Flags curl at the points
Press them flat with a warm iron and a pressing cloth, then store them flat rather than hanging them under tension for months.
A Project Worth Keeping
The real appeal of this method is that it costs almost nothing and takes one sitting. You can cut a dozen flags, glue them in pairs, and have a garland ready before the glue fully cures. Keep the template in your craft drawer, and the next time you need a quick decoration for a birthday, a baby shower, or a plain wall that needs some color, you can pull out the scrap bin and make another one in an evening.
Photo: rawpixel / Pixabay
You Might Also Like
A practical local guide to borrowing or renting community bunting, checking it before you take it home, and storing it so it survives to the next festival.
Windy gardens punish flimsy bunting. Here is how to choose weatherproof flags, anchor them properly, and space lines so they stay up.